Combos are the single most impactful scoring mechanic in Block Blast. Two players can manage the same board for the same number of turns and end with dramatically different scores and the difference is almost entirely explained by combo efficiency. One player clears lines individually with gaps between them; the other chains clears consecutively and multiplies every point earned. This guide explains exactly how the combo system works and how to build your gameplay around it deliberately.
What Is a Combo in Block Blast?
A combo in Block Blast occurs when you clear one or more lines with a placement, and then clear one or more lines with the very next placement as well. Each consecutive clear-triggering placement adds one to your combo counter. The combo counter and the score multiplier attached to it resets to zero the moment you place a piece without triggering any line clear.
The key word here is "consecutive." The clears do not all need to happen from the same set of three pieces. A combo can span multiple turns and multiple sets of pieces as long as every single placement triggers at least one clear. A combo chain of 8 or 10 consecutive clearing placements is entirely achievable on a well-managed board.
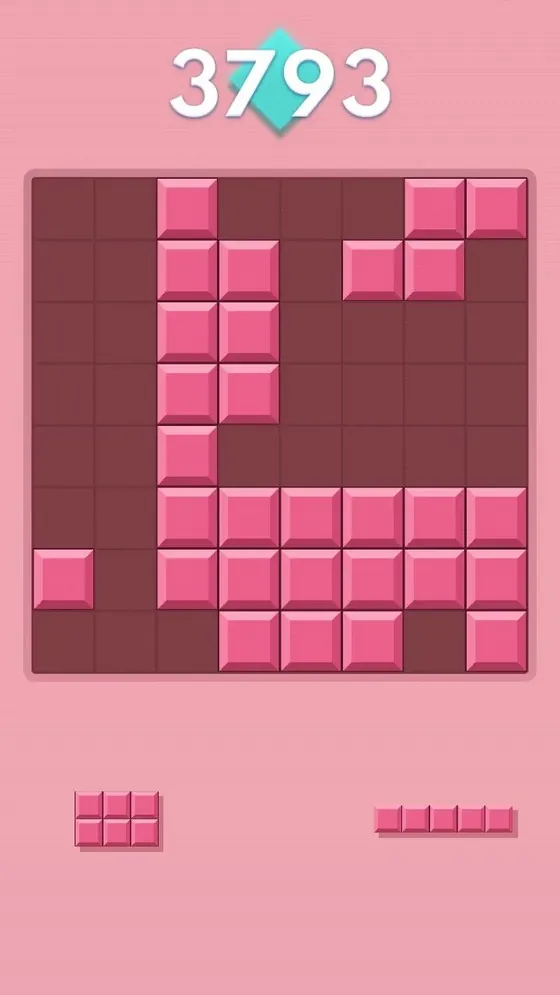
How the Combo Multiplier Scales
Each step in a combo chain increases your multiplier, which applies to the score earned from each subsequent clear. The exact multiplier values in Block Blast scale progressively meaning the longer the chain, the more each new clear is worth compared to its base value.
Combo x1 (no streak): base points
Combo x2 (1 consecutive): roughly 2× base
Combo x3 (2 consecutive): roughly 3× base
Combo x5 (4 consecutive): roughly 5× base
Combo x8 (7 consecutive): roughly 8× base
A single clear at combo x8 is worth approximately 8× what it would have been with no combo active.
The compounding effect becomes very significant at higher combo counts. Ten modest single-line clears spread out with non-clearing placements between them will always score substantially less than the same ten clears chained consecutively, even if the line clears themselves are identical. This is why combo management is worth more attention than any other single scoring variable.
Simultaneous Multi-Line Clears Within a Combo
Multi-line clears clearing more than one row or column with a single piece placement stack on top of the combo multiplier rather than replacing it. A simultaneous clear of two lines at combo x4 earns far more than two separate single clears at combo x4 and x5, because the multi-clear bonus and the combo multiplier multiply together.
This means the highest-scoring moments in any Block Blast session are simultaneous multi-line clears that happen during a high combo chain. Setting up a double or triple clear to land during the middle of a long combo is the core skill that pushes scores from the thousands into the tens of thousands and beyond.
Building Your First Combo: The Near-Complete Row Technique
The most reliable way to start and maintain a combo chain is the near-complete row technique. Keep one row at seven out of eight cells filled at all times leaving exactly one gap. Every piece that includes a cell in the right position will complete and clear that row, giving you a clear on essentially every other placement.
Here is how to implement it:
- In the early game, identify one row near the bottom of the board and build it up to seven cells, leaving a single gap
- When placing pieces, always check whether a piece can fill that gap while also doing something useful elsewhere on the board
- After the row clears, rebuild it to seven cells again with the next available pieces
- Rotate which row you maintain this way as the board changes, keeping whichever row is closest to complete in this near-complete state
With this technique, almost every placement triggers a clear, and your combo counter grows steadily without requiring elaborate multi-line setups for every turn.
Protecting a High Combo Chain
Once your combo counter reaches 5 or higher, protecting it becomes a significant strategic priority. At this point, every non-clearing placement resets weeks of accumulated multiplier value in a single move.
Placing for Clears Over Optimal Position
When your combo is high and the only clear-triggering placements available are not the ones you would ideally choose, placing suboptimally to maintain the combo is usually the right call. A slightly messier board state with a combo of x7 still actively running is worth more in future scoring potential than a perfectly positioned board with the combo reset to zero.
When to Sacrifice the Combo
There are situations where protecting the combo chain requires a placement that would seriously damage the board filling a critical corner, blocking space needed for a large incoming piece, or creating terrain that causes problems within two moves. In these cases, accepting the combo reset is correct. A broken combo is recoverable; an unplayable board is not.
Watching All Three Pieces
Before placing anything when your combo is high, check all three pieces and confirm that the order you are considering does not accidentally create a situation where the third piece has no clearing placement available. Sometimes a different placement order for the first piece opens up a clearing opportunity for the third that would have been blocked otherwise.
Common Combo Mistakes
Breaking the Chain for a Slightly Better Position
The most common combo mistake is placing a piece in a "cleaner" position that does not trigger a clear, when a slightly less optimal position would have maintained the chain. Players underestimate how much the multiplier loss costs versus the marginal position gain. In most cases, the combo is worth more than the positional refinement.
Not Rebuilding Near-Complete Rows After Clears
After a row clears, players often shift attention to other parts of the board rather than immediately rebuilding a near-complete row. This creates a gap in the chain several placements with no clears before the combo restarts. After any line clear, your next priority should be: what gets this row or column back to near-complete as fast as possible?
Ignoring Columns Entirely
Players who only think about rows miss column clears that would have maintained their combo on the same placements. A piece that cannot complete a row might complete a column. Checking both axes for every placement is a habit that significantly increases combo duration without requiring any additional pieces or setups.
Combo Practice Techniques
Count Your Combos Actively
During practice sessions, actively track your combo counter rather than just watching your score. If you notice your combos consistently break at 3 or 4, that tells you where your chain-maintenance skills need work. If combos break when you get a difficult piece set, that points to piece planning as the skill to develop.
Use the Solver to Study Combo Setups
When you have a board state where your combo just broke, upload it to the Block Blast Solver and look at what the solver recommends. Often there was a clearing placement available that you did not see. Identifying the missed opportunities in hindsight is a faster way to build pattern recognition than waiting for the same situation to appear in a live game.
Practice on Clean Boards First
If you are new to deliberate combo building, start practice sessions by prioritising a clean, flat board over high early scores. A well-maintained flat board gives you more clearing opportunities per turn and a higher chance of naturally finding combo chains. Once the habit of thinking about clears on every placement is established, you can start integrating the more aggressive multi-clear setups described above.
Summary: Combo Rules to Play By
- Every placement should aim to trigger at least one clear if it does not, ask whether a different placement would have
- Keep at least one near-complete row or column active at all times as a reliable combo anchor
- At combo x5 and above, protecting the chain takes priority over positional refinement
- Multi-line clears during a high combo are your highest-scoring opportunities set them up deliberately
- Check both rows and columns before every placement the clear you miss is usually on the axis you were not watching
For more on how scores are calculated and what combo counts mean in practice, read the Block Blast High Scores guide. To test a specific board's combo potential, use the Block Blast Solver.
Combos depend heavily on which shapes you're working with see the full Block Blast pieces guide for how each shape behaves. If you're just getting started, the beginners guide covers the fundamentals first.