Block Blast uses a wide variety of piece shapes far more than classic Tetris. Understanding each piece type, how it behaves on the board, and what placement challenges it creates is fundamental to developing real skill at the game. This guide covers every major piece category in Block Blast, with specific handling strategies for each one.
Why Piece Shape Knowledge Matters
Many players think about pieces reactively they wait to see what they get and then figure out where to put it. Players who know the full piece library can think ahead more effectively. If you know that large square pieces are coming eventually (they always do), you preserve the open space to accommodate them before they arrive. If you know that L-shaped pieces are versatile and easier to work with, you spend less mental energy on them and more on planning around the difficult ones.
Piece shape knowledge also helps when using the Block Blast Solver understanding why the solver places a particular piece in a particular orientation helps you learn the reasoning faster than just copying the answer.
Small Pieces (1–2 Cells)
Single Cell (1x1) Easy
The single cell is the most flexible piece in the game. It fits in any open cell on the board and is invaluable for filling isolated gaps that other pieces cannot reach. When you receive a 1x1, treat it as a gap-filler: scan the board for an isolated empty cell surrounded by filled neighbours and place it there. Using a 1x1 to start a new open area is wasteful save it for tight spots.
Horizontal Domino (1x2) Easy
Two cells side by side horizontally. Very easy to place almost anywhere on the board. Best used to complete a nearly-finished row that needs exactly two adjacent cells, or to fill two adjacent gaps in a column. Because it is small and flexible, you can usually find a placement that advances multiple objectives simultaneously.
Vertical Domino (2x1) Easy
Two cells stacked vertically. Identical strategy to the horizontal domino but oriented for columns. Use it to fill two adjacent vertical gaps, particularly in columns that are close to complete. Avoid stacking it on top of a tall column that is already contributing to surface unevenness.
Three-Cell Pieces (Trominoes)
Horizontal Bar (1x3) Easy
Three cells in a horizontal line. Excellent for completing rows the most natural use is filling the last three cells of a nearly complete row. It can also be used across three adjacent column positions to advance multiple column clears simultaneously. Watch that the three cells it occupies do not create isolated gaps on either side.
Vertical Bar (3x1) Easy
Three cells in a vertical line. Useful for advancing column clears. The main risk is placing it in a column that is already tall, which increases surface height unevenness. Best placed in short columns or along board edges where height variation matters less.
L-Shape (occupies an L pattern) Medium
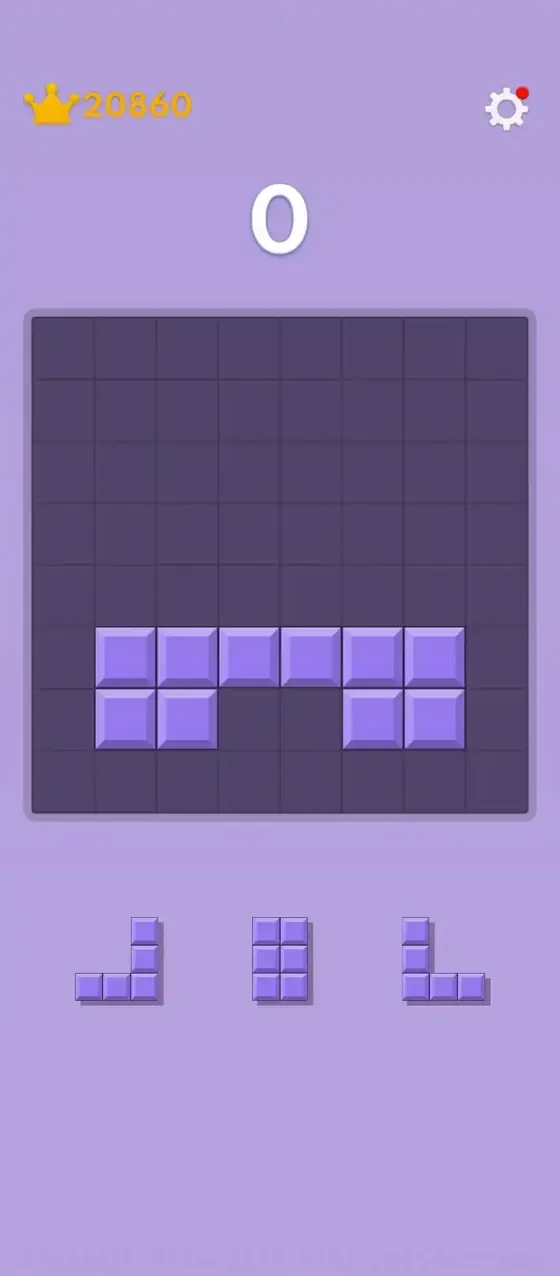
Three cells in an L configuration two in a row and one extending perpendicular from one end. Block Blast includes multiple L-shape orientations (the standard L and its mirror/rotations, all presented as distinct non-rotatable pieces). L-shapes are versatile because they can fill corners efficiently when timed correctly. The key is matching the L orientation to a corner or edge position that needs exactly that shape. Using an L-shape in the open center of the board creates awkward terrain that is harder to work around.
Four-Cell Pieces (Tetrominoes)
Small Square (2x2) Medium
Four cells in a 2x2 square. Requires a 2x2 open area two adjacent rows must each have two adjacent empty cells at the same position. On a partially filled board this is a common constraint. The 2x2 square is best placed against the edge of the board or against an existing flat structure where it can contribute to line clears in both the two rows and potentially columns it spans. Never place it floating in the middle of an otherwise flat area unless it clearly advances both a row and a column clear.
Horizontal Tetromino (1x4) Medium
Four cells in a horizontal line. Excellent for row clears but requires a long uninterrupted gap. Most useful when a row has exactly four consecutive empty cells remaining. If placed across a partly filled row creating isolated single gaps, it becomes a problem to clean up later. Check that the cells on either side of the placement are not creating isolated single-cell gaps.
Vertical Tetromino (4x1) Medium
Four cells in a vertical line. Requires four consecutive empty cells in a single column, which is a significant constraint on a busy board. Best used in a column that is almost completely empty or very early in the game. Placing a 4x1 in a tall column dramatically increases surface height there and should usually be avoided unless it clears the column entirely.
T-Shape Medium
Three cells in a row with one cell extending from the center a T configuration. The T-shape appears in four orientations in Block Blast (pointing up, down, left, right). It is versatile but requires matching the correct orientation to the available space. T-shapes are particularly effective when placed at the junction of a nearly-complete row and a nearly-complete column the center cell of the T and its arms can simultaneously advance clears in multiple directions.
Large Pieces (5+ Cells)
Horizontal Long Bar (1x5) Hard
Five consecutive cells in a horizontal line. This piece is challenging because it spans more than half of the 8-cell board width, meaning it requires five consecutive empty cells in a single row. On any board with moderate filling this is a very constrained placement. When you see a 1x5, treat finding its placement as your first priority before placing the other two pieces it needs the most space and the other two placements must not eliminate its last valid position.
Vertical Long Bar (5x1) Hard
Five consecutive cells in a vertical line. The same constraints as the 1x5 but applied vertically. Five consecutive empty cells in a single column is unusual on any board past the opening moves. When combined with other large pieces in the same set of three, this piece can be extremely difficult to accommodate.
Large Rectangle (2x3 or 3x2) Hard
A 2x3 or 3x2 block requires a clean rectangular open area of six cells. These are among the most difficult pieces to place because they require large, organised open space something that degrades rapidly on a busy board. The key strategy is to never fully fill any 2x3 or 3x2 area before placing one of these pieces. Leave organised rectangular gaps rather than filling them with smaller pieces, so the large rectangle always has somewhere to go.
Large Square (3x3) Hard
Nine cells in a 3x3 square. This is the most demanding piece in the game. It requires a completely open 3x3 area three consecutive rows each with three consecutive empty cells aligned. On any board past the early game, this is a rare condition. When you receive a 3x3 in your set of three, your entire placement strategy for the other two pieces must be based on preserving the last valid 3x3 open area. Never place any other piece in a way that eliminates all 3x3 options.
General Principles for Difficult Pieces
Plan for Hard Pieces Before They Arrive
The 3x3, 2x3, and 1x5 pieces will appear in your game eventually. If you play as though they are always potentially in the next set, you will naturally preserve organised open areas rather than filling gaps with smaller pieces in ways that create chaotic terrain. This proactive approach is what separates players who can handle any piece combination from those who are frequently caught without a valid placement.
Use the Solver on Difficult Three-Piece Sets
When your three pieces include two or more large or irregular shapes, the placement order and exact positions become non-obvious quickly. This is exactly the situation where the Block Blast Solver is most valuable the solver evaluates all possible orderings and positions simultaneously, which is computationally easier for a computer than for a human trying to mentally simulate multiple sequences.
Hard Pieces Are Not Bad Pieces
Players often feel frustrated when they receive a 3x3 or a 1x5 because they associate these pieces with difficulty. But large pieces are also the most powerful pieces they fill enormous amounts of space in a single placement and can simultaneously clear multiple rows and columns when placed optimally. A well-timed 3x3 placement that clears three rows and three columns at once generates a massive score bonus. The piece is only difficult if the board was not prepared for it; on a well-managed board, it is an opportunity.
Understanding your pieces is half the game. The other half is knowing what to do with them read the full Block Blast Strategy Guide for placement principles that work with any piece combination, or use the Block Blast Solver to analyse a specific difficult set.
New to the game? Start with the Block Blast beginners guide. Ready to chase bigger scores once you know your pieces? See how to set up Block Blast combos.